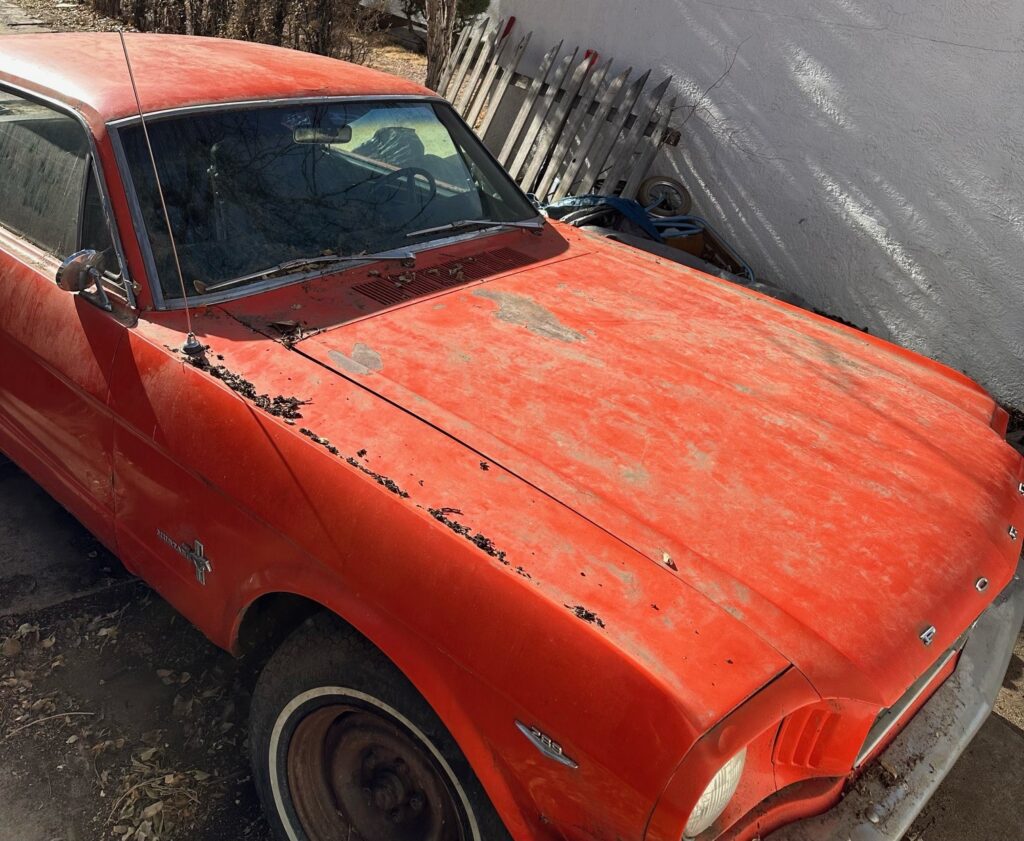
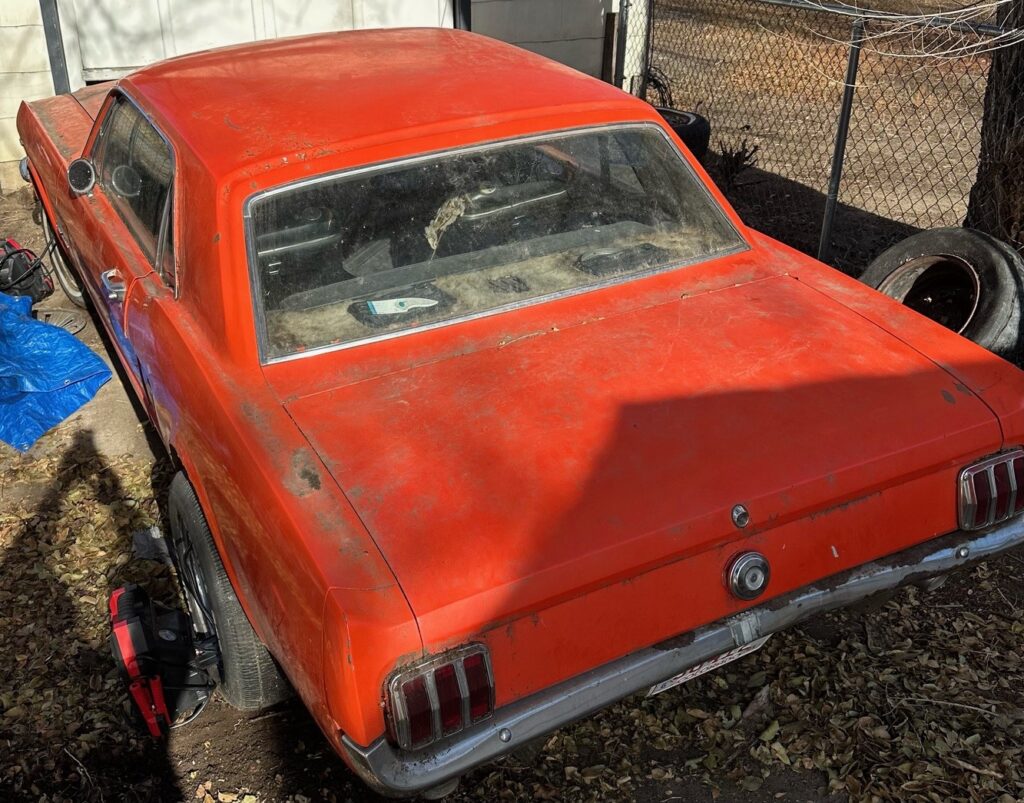
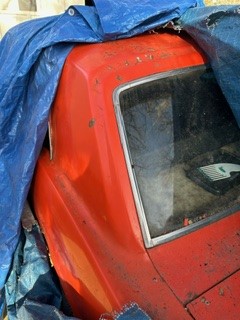
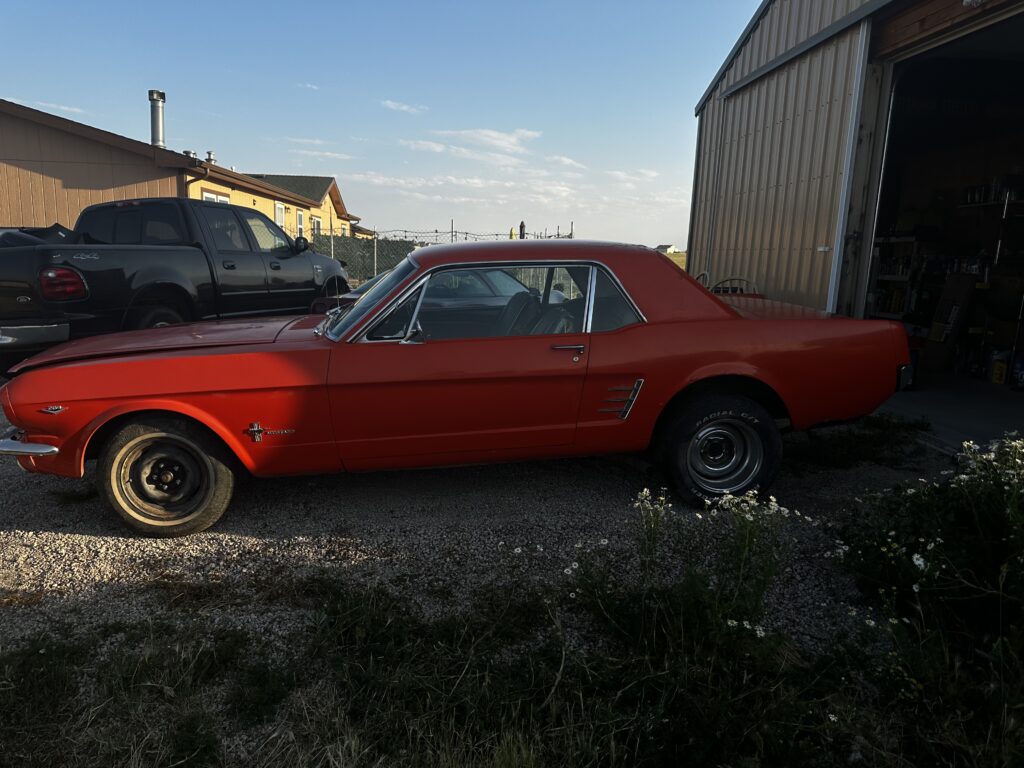
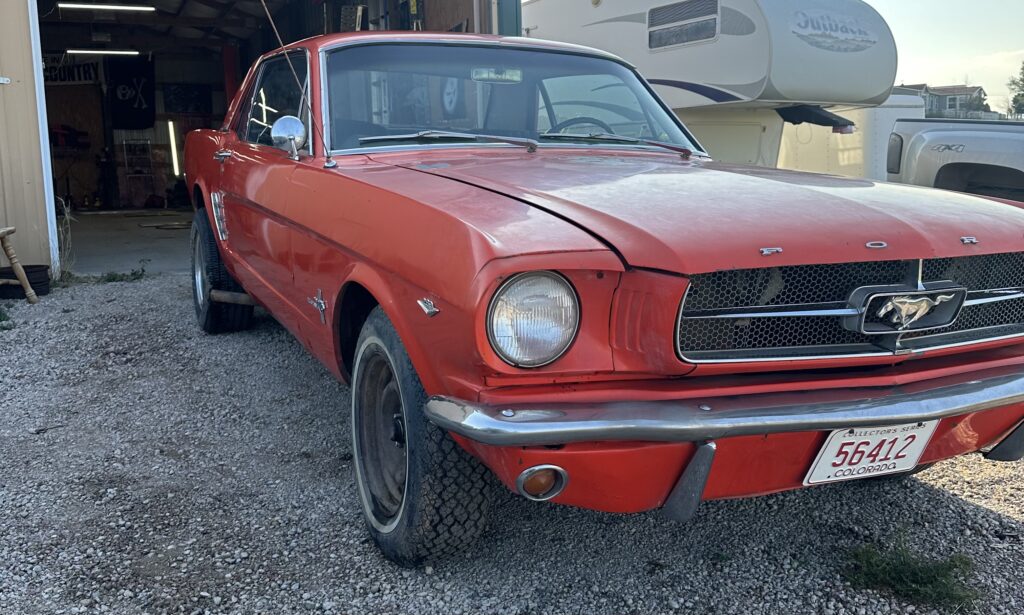
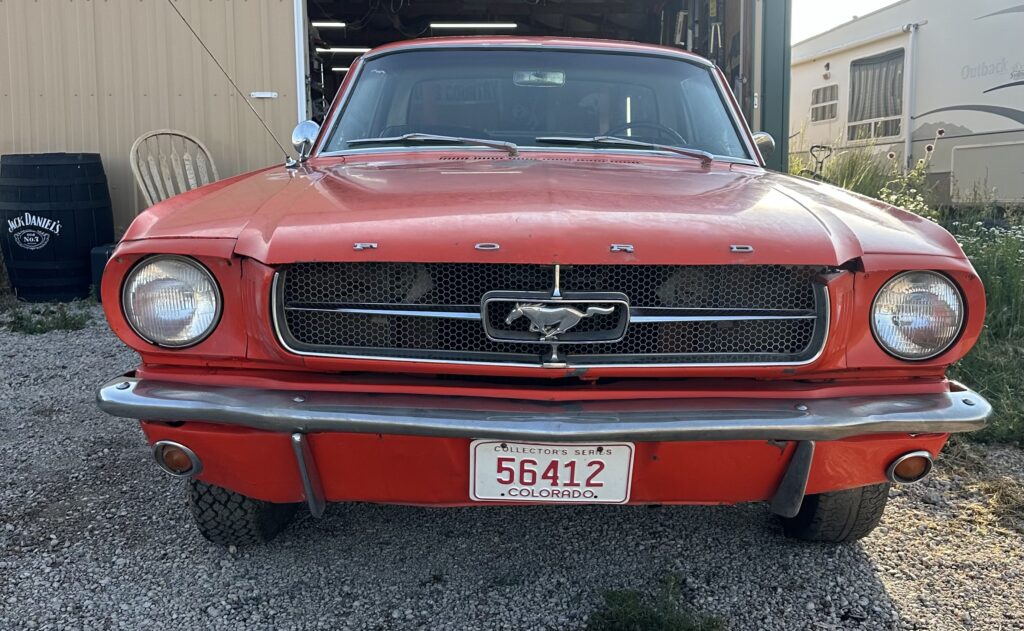
This is a new project I have started. I am not a Ford fan; however, if there were a Ford I would want to restore, it would be a Ford in this era. A Ford between 1964 – 1969 is the style/model I would pick. My first car was a 1979 Ford Mustang II, and it was great at the time, but it was a dog of a car and not that fun to drive. It was only a vehicle to get me from point A to point B. The project below would be a better fit for owning a Classic Mustang.


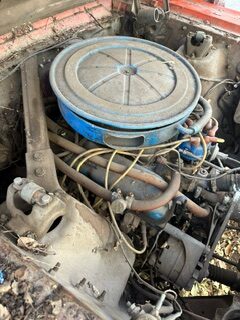

First engine turnover from being out of commission for 32 years. The time we used starting fluid to verify the engine would turn over:
The video below is the engine turning over after I rebuilt the carburetor. At this point, the engine will not continue to run, so next, I will work on the carburetor tuning or distributor fix or replace.
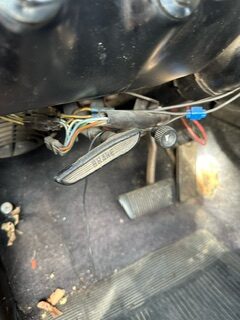
We found an issue with the wire from the coil to the distributor. We fixed the problem and fired her up. The idle seems to be okay; however, there does seem to be a knock when stopping the engine.
I got the Mustang moving after I put 4 quarts of type 4 ATF in. When in Drive or Reverse, the wheels were spinning out briefly. We adjusted the carburetor, and now it will roll with a bit of gas; however, it stalls when trying to press the gas to get it moving. Below is the roll and stall. Next, we move on to getting shifting gears.
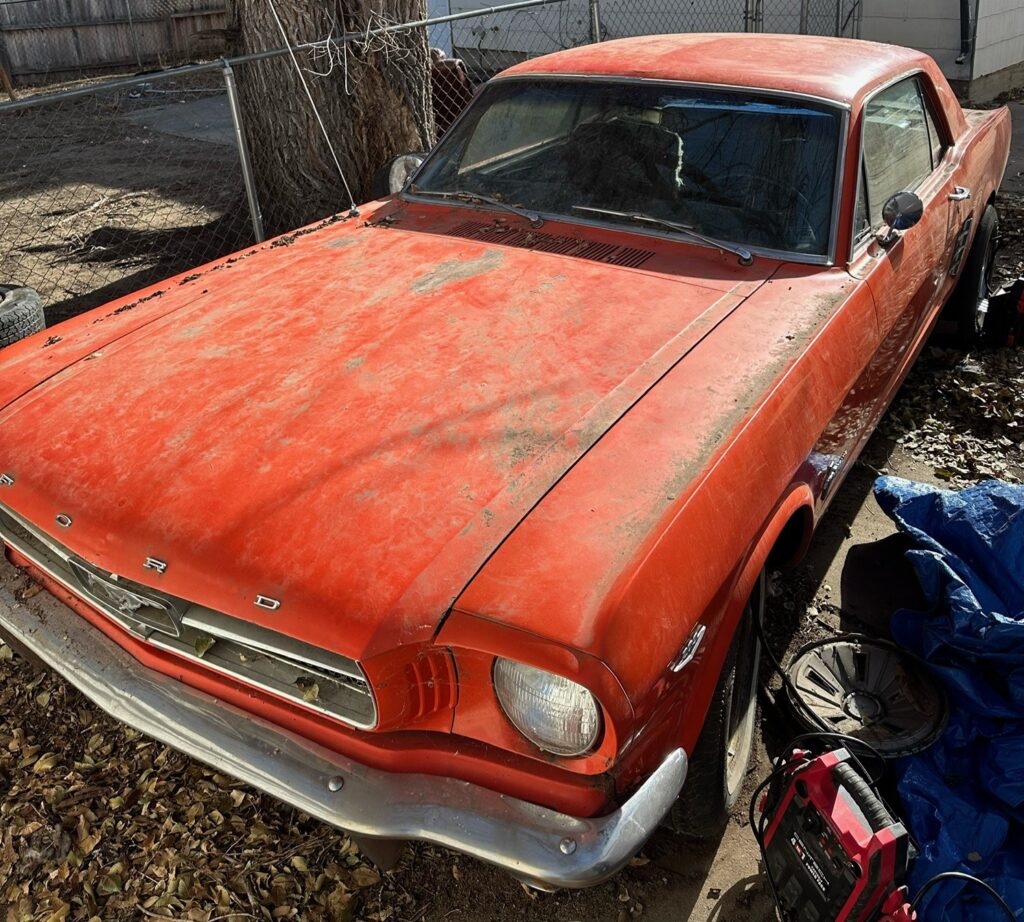
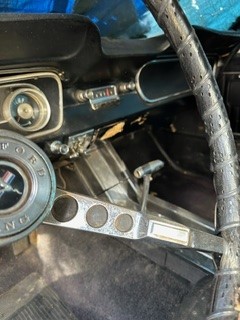
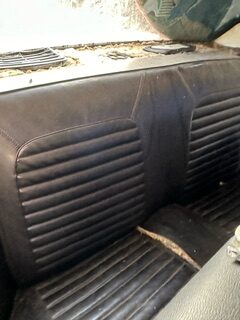
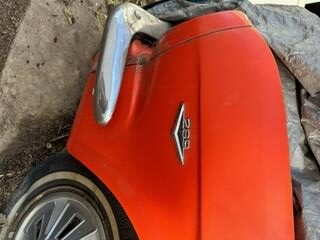
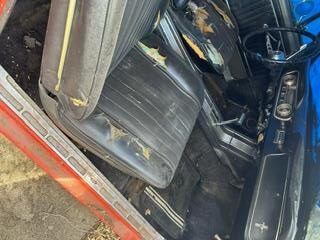
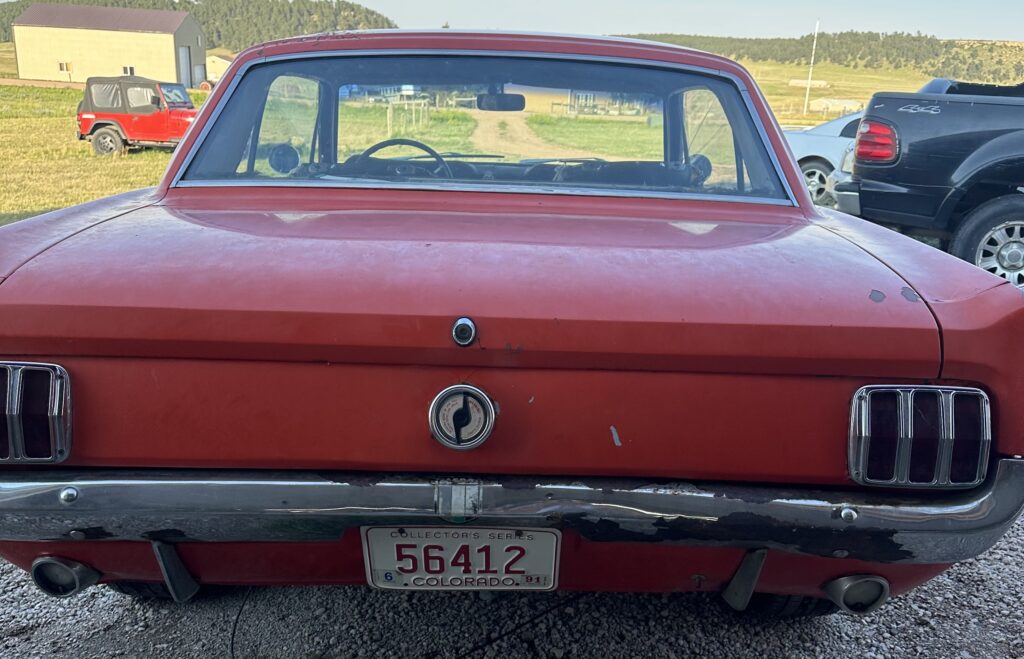
The Mustang moves under its power now. I’m not sure what I will find out once I get her out of the driveway, but for now, I need to adjust the brakes and take her for a spin. Looks much better after a quick cleanup.

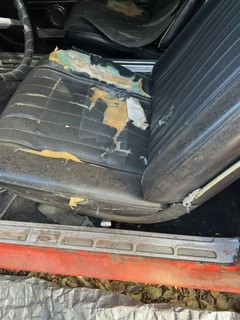
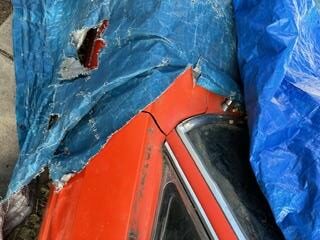
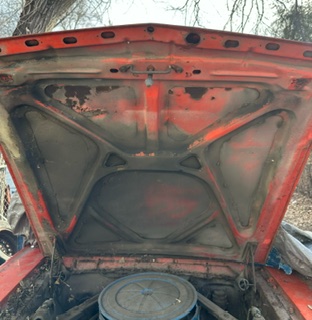
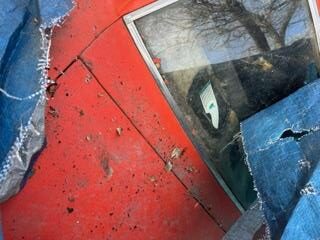
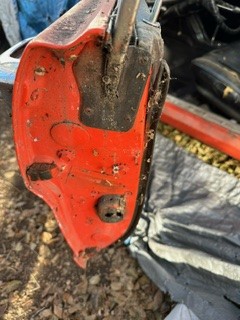
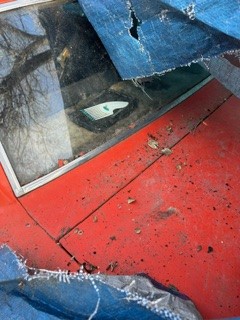
Today, I started sanding and prepping for body work. I uncovered more than I thought. This will be a pretty big job and take some time. I think the drive side might be a little less sheet metal work, but the bottom rear panel has an extensive rusted section.
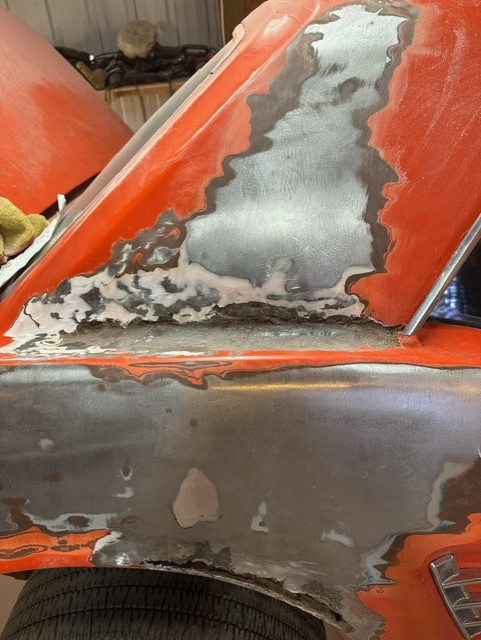
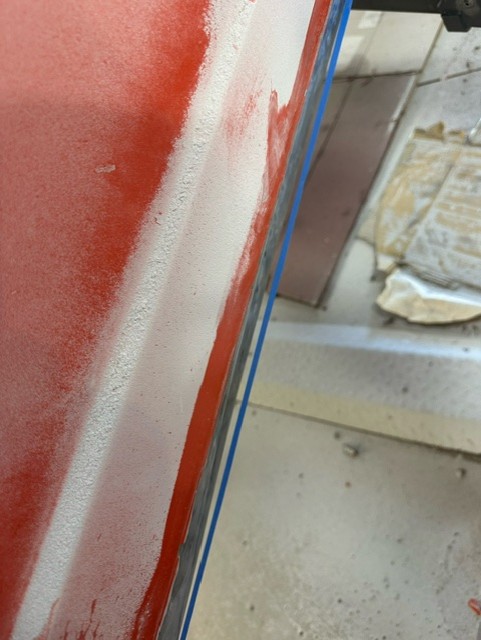

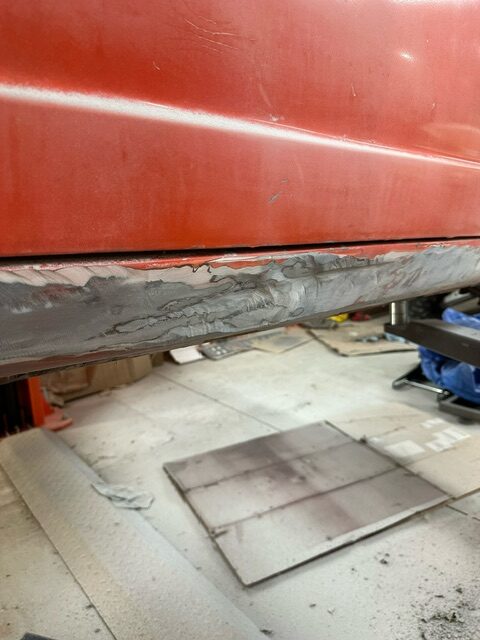
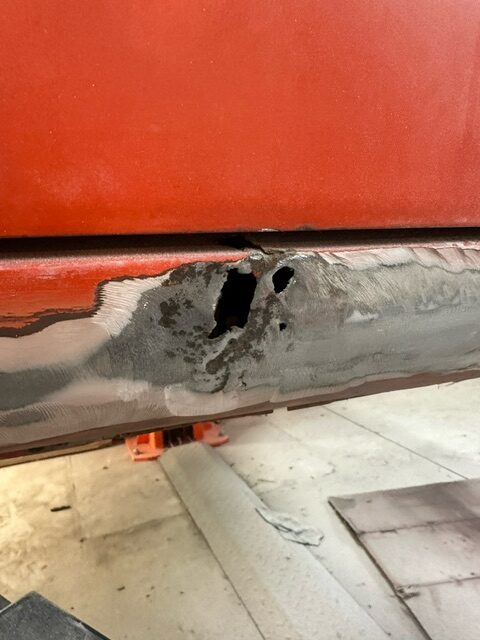
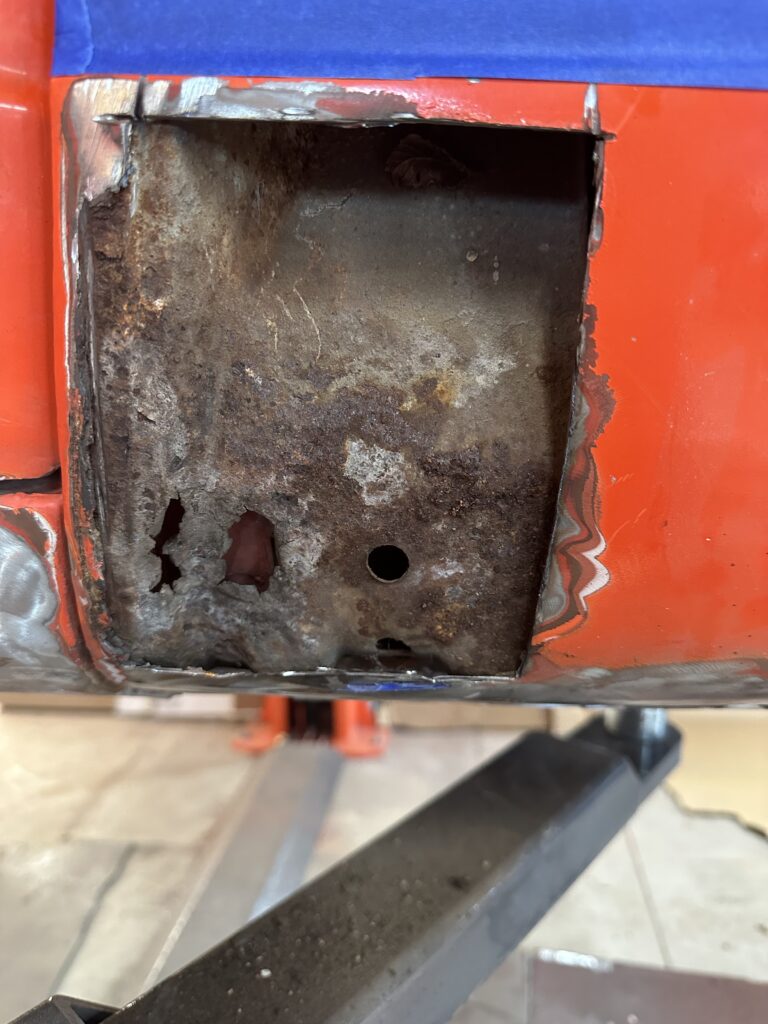
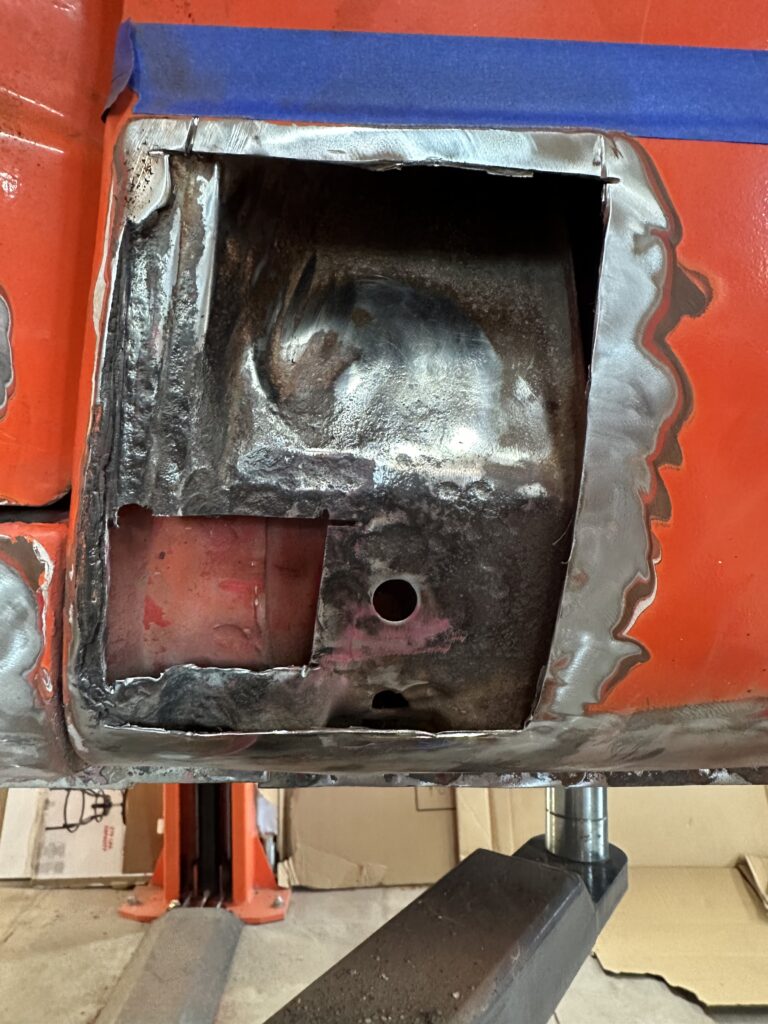
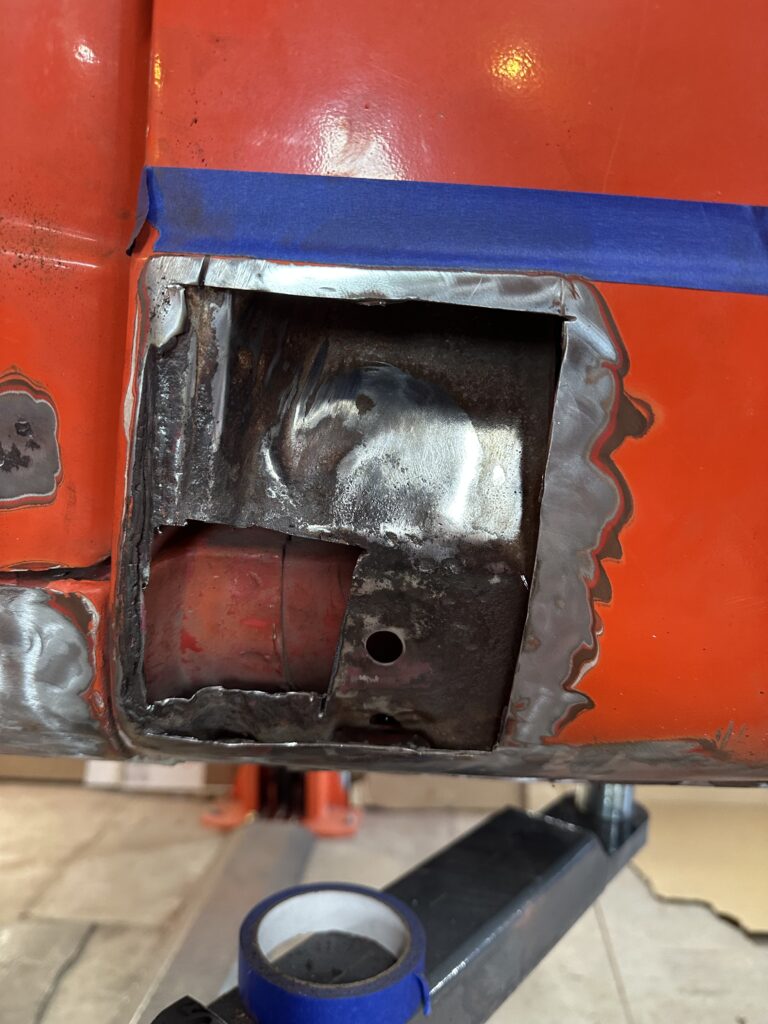
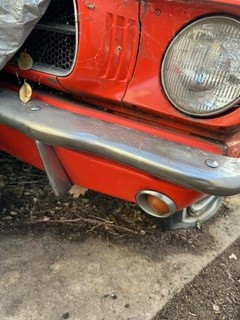
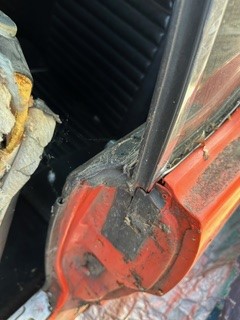
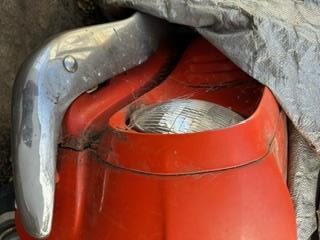
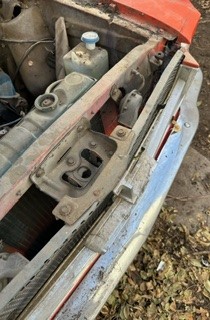
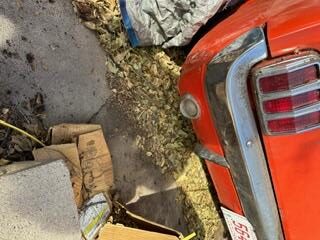
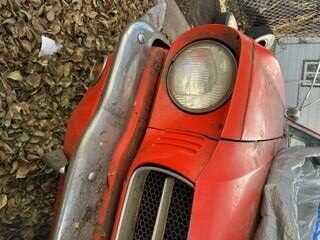
It has been some time since I have focused on the Mustang. I have removed most of the clip. Grille, lights, light holders, and a few more parts from the front end. I still need to remove the front bumper and the bottom of the front clip. I have not removed the front quarter panels yet. I have decided to try and complete the body work without having to remove the passenger side quarter panel. Today, I cut out the rust on the passenger side quarter panel. The right quarter panel appears to be fine. So far, all that needs to be completed on the driver side quarter panel is a good sanding, a skim of body filler, primer, and paint. Below is the start of the passenger side rust repair. I had cut out what I thought was enough rusted material. I made my metal patch panel. when I started grinding down the quarter panel edges for welding, I noticed that there was more weak (rusted) metal. I then cut out the rest of the rusted area. Next, I will create a new patch for the quarter panel. One for the inside brace and one for the outer patch panel. Below are the quarter panel cutouts. I am hoping to have the metal work completed and welding in sometime tomorrow.