Newbee Welder and Still Learning
I have briefly welded in the past. I remember welding in middle school and having to weld a few years back while attending Community College, where I worked through their diesel mechanics program. This type of welding was very simplistic, to say the least. We never spent any time learning about metals and laying beads down. I never knew how to set my current or wire feed, much less what setting to use on different metals and metal thicknesses. Since I am restoring a 65 Mustang with a few rust spots, I figured it was time to improve at welding. A friend and I went to our local metal store, where I purchased a 4×8 18 gauge metal sheet. I also have a few 16 gauge coupons I have been welding together for practice. While I have been practicing my welds, I have noticed that I have had some pretty ugly welds and lots of popping when welding. It also sounds like the shielded gas is not covering the arc. Another friend and I decided to take a class at a local welding school. I’m not positive the class is worth the price, but I found some things I need to work on when welding. For instance, my gun was too far from the weld area, I didn’t move my welds in e shapes, and my speed and weld size needed to be slightly adjusted. After the class, I was ready to test my skills. I found four similar-sized metal coupons and welded them to form a rectangular box. I then cut another two pieces to make the top and the bottom. Below is a lock box for practicing lock-picking.
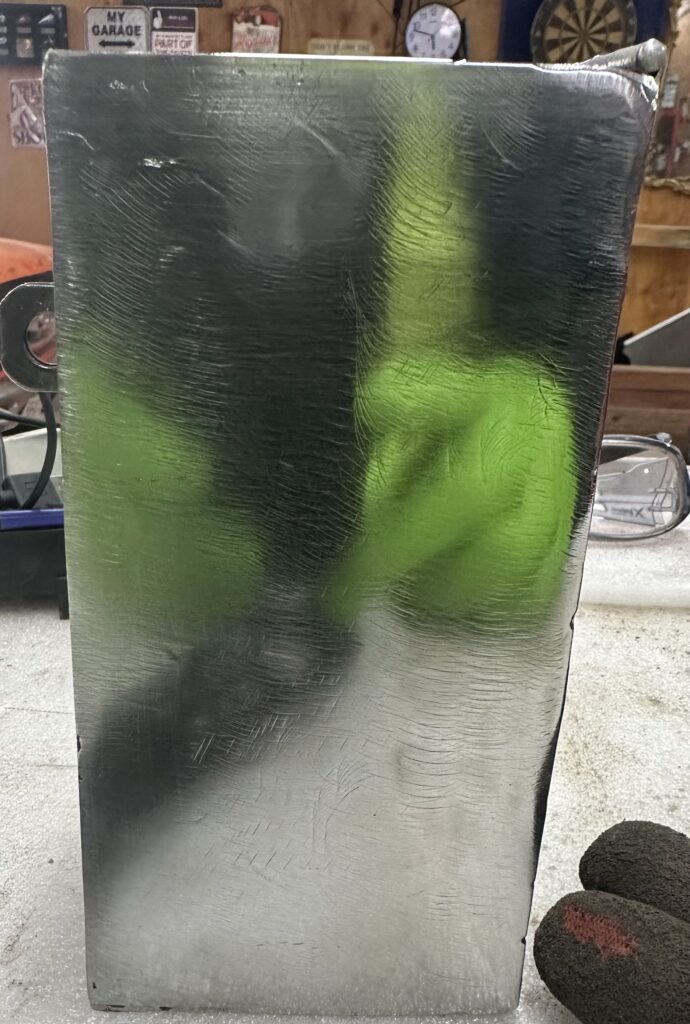
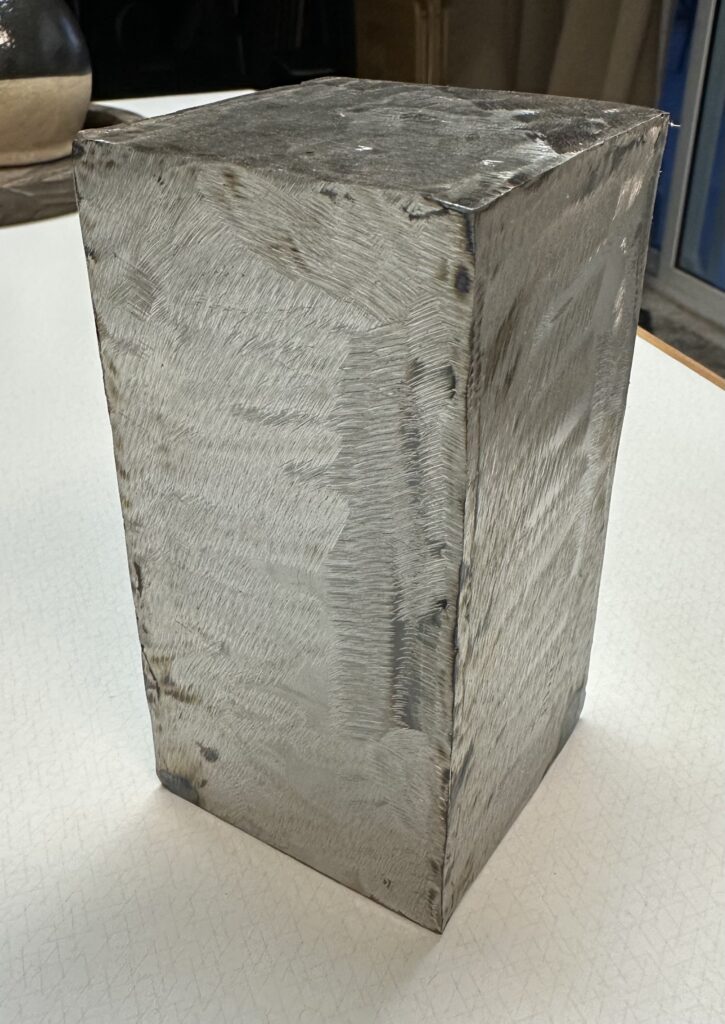
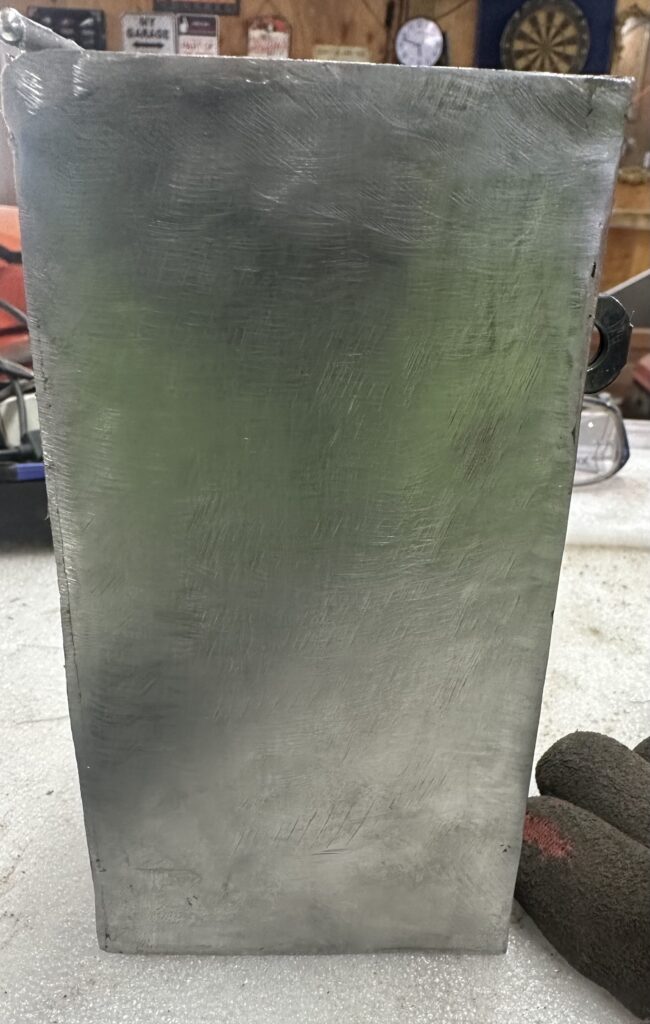
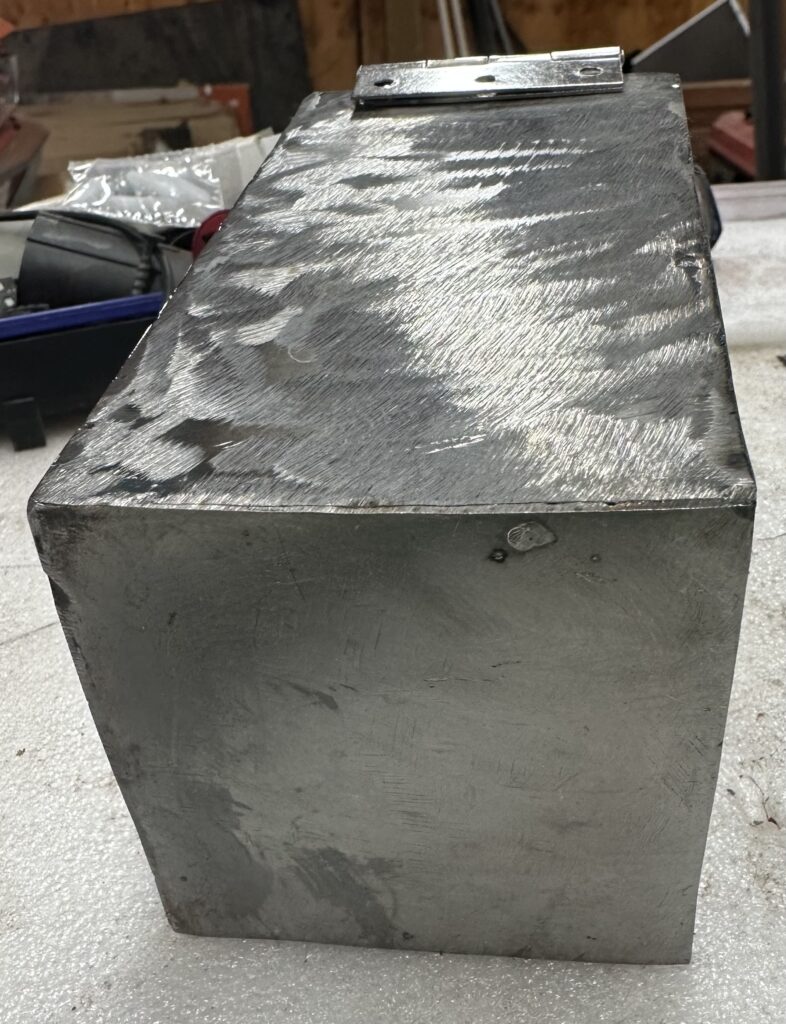
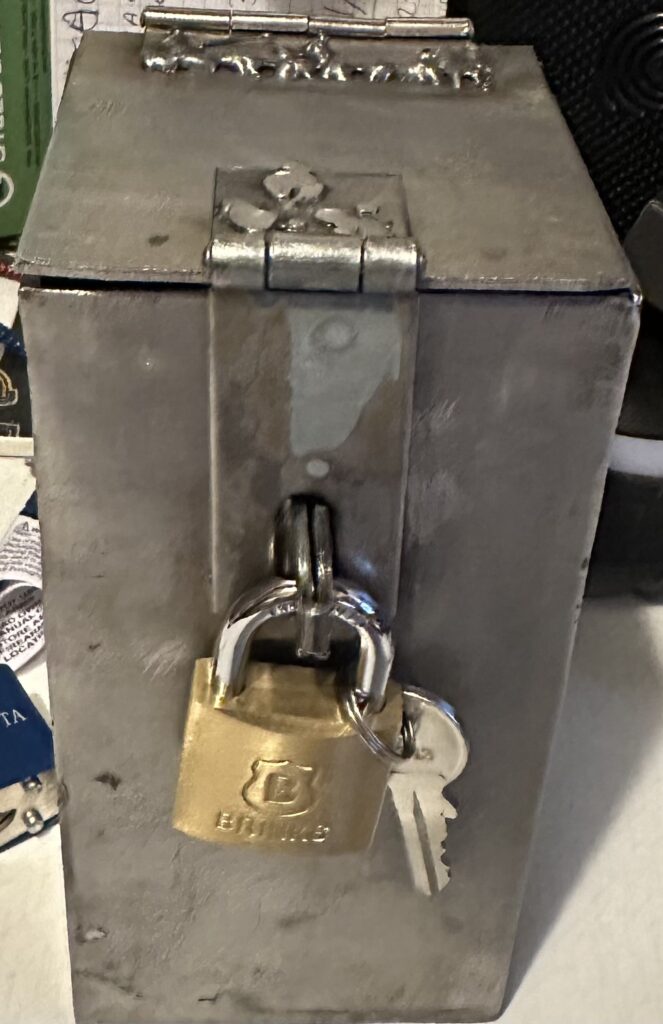
I still have a bit of cleanup work to complete this box. I left one side ground down, one side sanded, and one side polished. I did this to keep working on each side and try other techniques for better results. I’m working on better grinds, so I don’t have to sand deep grind marks out. If I can get the grind marks out without sanding as much, then polished metal will look better. Another issue was welding steel and stainless steel to each other. The hinges I ordered were stainless. I didn’t want to use screws for the hinges. I tried to weld the hinges where the screw holes were. However, they would not take it, and the weld didn’t hold at first. Next, I drilled holes where the screws would be and welded the hinge holes to the holes in the box. That worked. I then tried to weld the rest of the hinge to the box, but the welds did not come out as expected. This could be a stainless steel to bare steel issue. I will save testing that for another day.
Now, I have switched gears and cut a piece of 18 gauge steel to test. This is the gauge I am using on the Mustang body. I cut six squares to make a simple box. The first weld was blowing through the steel and creating holes. I turned down the amperage on the welder but still could not get the welds I wanted. I will try this again with the thinner gauge steel and upload images when I have better results.
Moving to a thinner gauge did not go well. This time, I started welding a square box, and the welds were too hot, so I started blowing holes in the edges of the 18-gauge steel. I double-checked my settings and started trying things like distance and speed. It looks more like a speed issue, but the welds still ran hot. I would get half a good weld; the weld would be inconsistent. It is most likely a user error. Now, I am placing that aside and will work on other things.
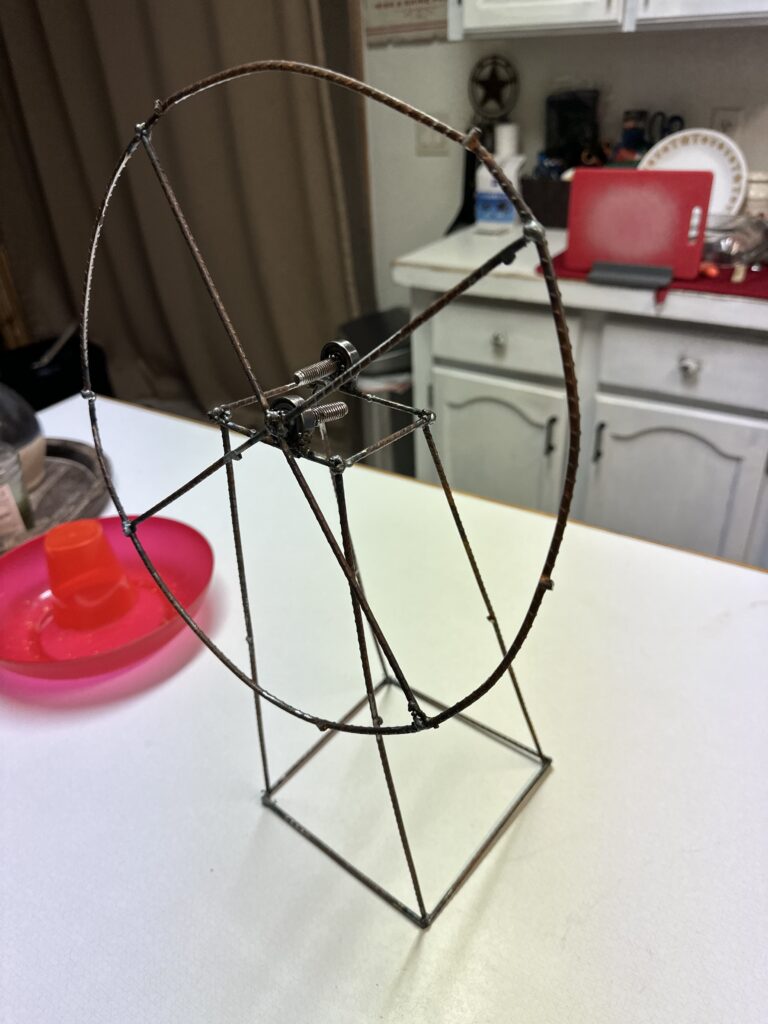
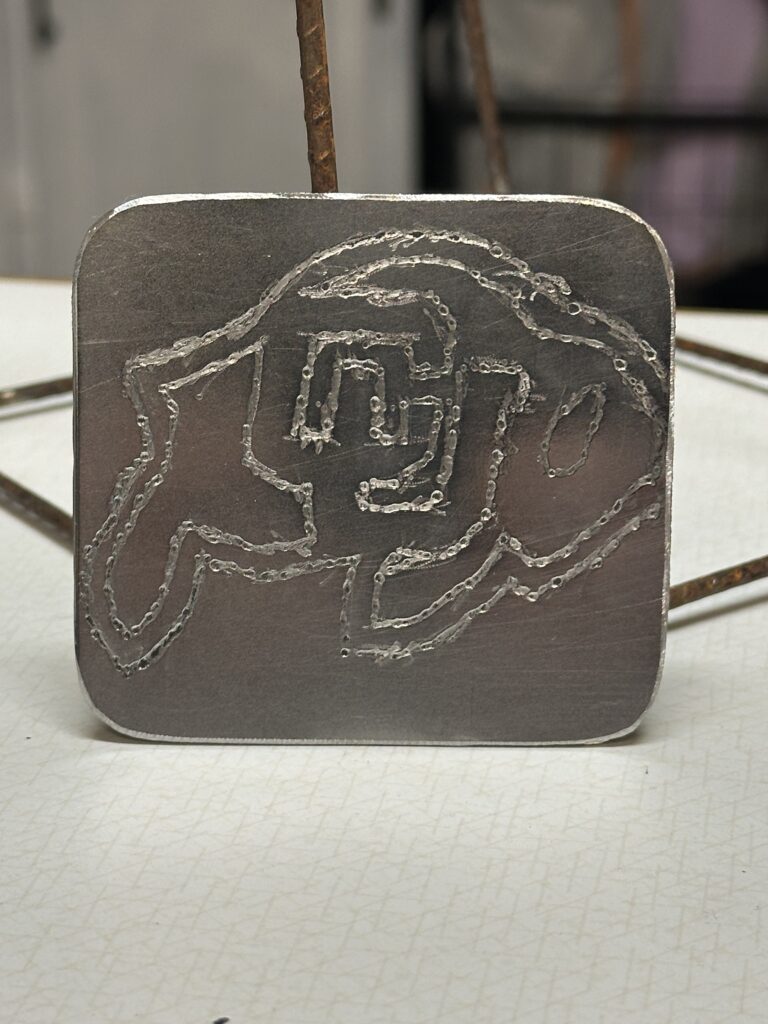
Since I had put the box welding down for a few days, I decided to try several other things. The first thing I tried was creating a small windmill structure. The wife said that if I got into welding, she wanted me to weld her a windmill. Below is the start of the windmill prototype. It’s just the structure, but it is functional. I use very thin rebar. I bought the 3×5 rebar reinforcement for a concrete job a few months back but didn’t use it. I ground off the weld of the rebar panel and cut the rebar into different lengths. I also ground down all the edges/ends I would use for the windmill structure. This is my first time welding something like this. The picture below is right after I completed the first round of welds. I haven’t cleaned up any of the welds. I also had some issues with welding the bearing to the windmill frame. The bearings are stainless steel, and the rebar is carbon steel. The welds are ugly, and I will have to work on getting better welds for different types of steel. The wheel is also out of round as my bender is outside in the cold, so I used the good old-fashioned knee and hand bender. The second picture is yet again my first attempt at etching. For this being my first time etching, it can only get better. I had issues with keeping the etching blade moving in a straight line. I ended up putting clear tape over my stencil, which helped. I then rounded the edges and polished the metal. I may have to get a better etcher and spend more hours etching. Many more hours…..
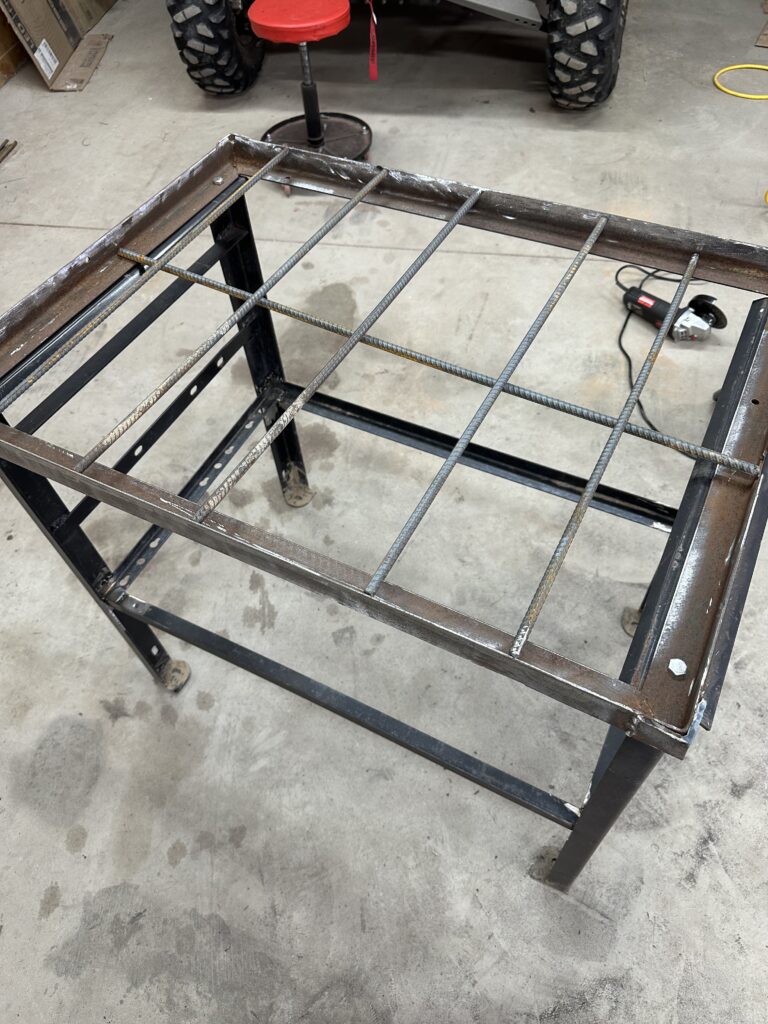
I currently have a couple of projects In the mix. I decided to make a weld/metal working table. This table cost me less than $30 to make. In the first picture, I used angel iron from a bed frame to make the lower brackets for the metal pan. The metal pan is from an Old Furnace that failed and had to be replaced. Side braces were the braces from my wheel balancer when it was shipped. The top bar angle was from a table, and I cut the legs off. I welded the rebar to the top frame for support. The last picture shows the tabletop I purchased from a metal store. This 16 gauge table top cost me under $30.
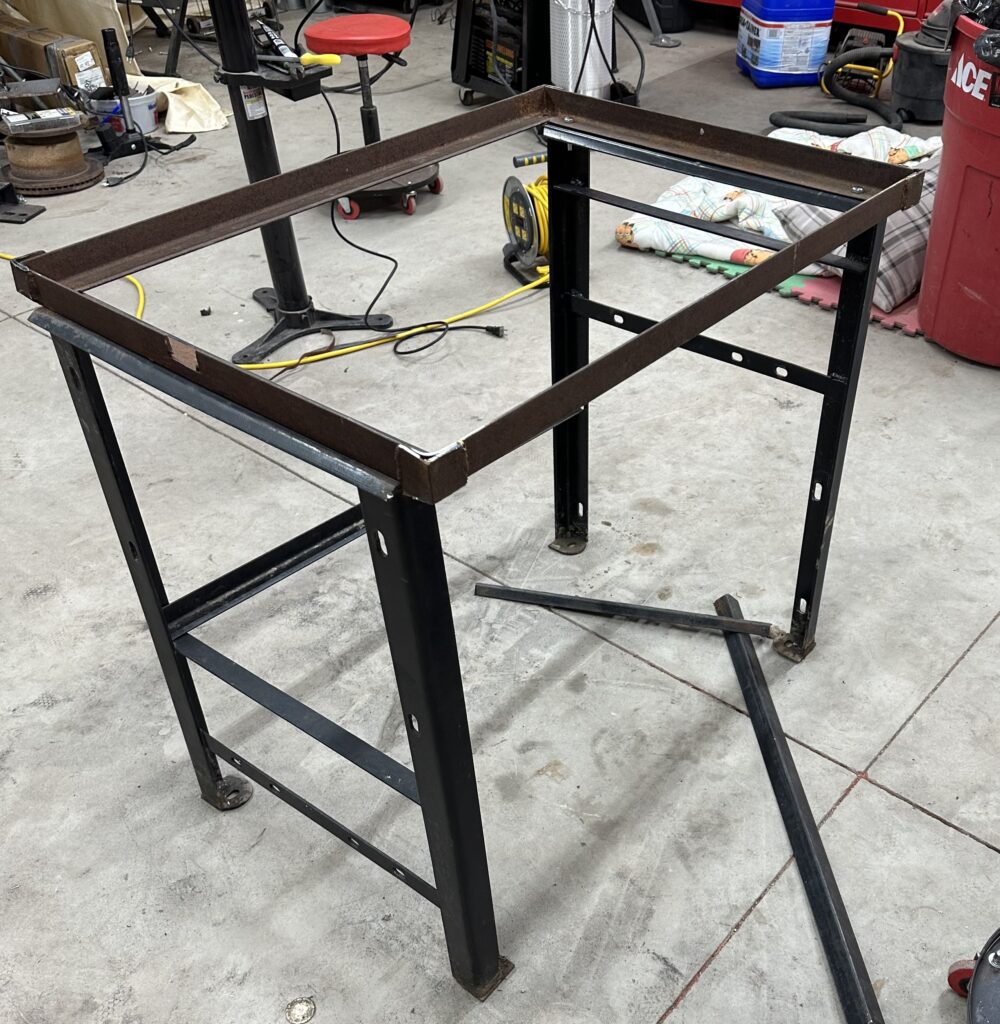
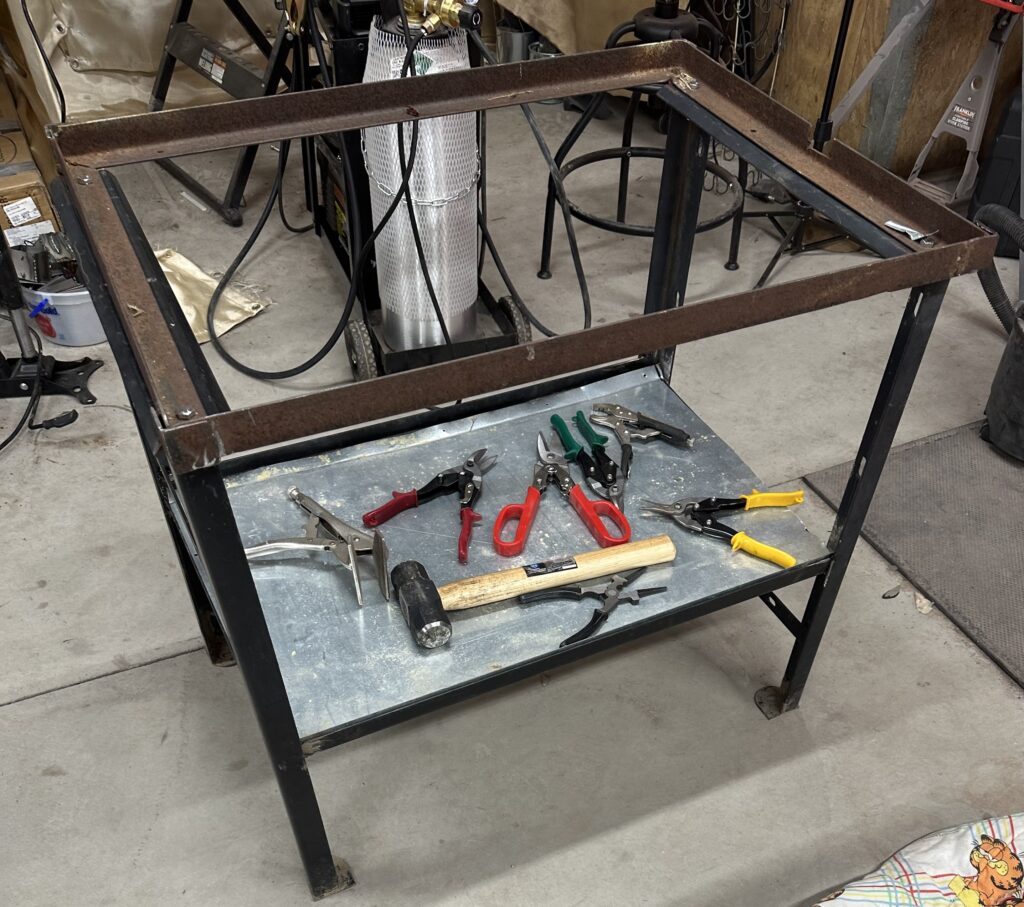
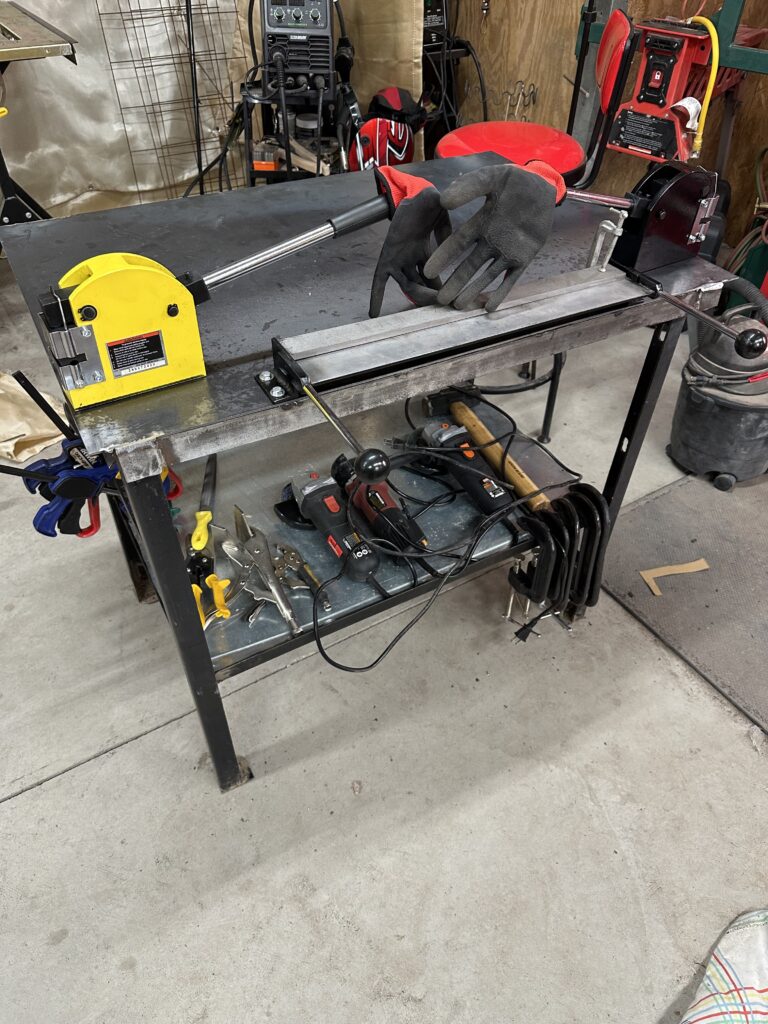
On top of the table, I have my metal shrinker, expander, break, and, soon, metal shears. I slap this together because I’m going to use it. I did not pay much attention to detail as if I would sell it. At this point, I am still working on my welds and slapping stuff together. As I get further into this journey, I will get more precise, put more time and effort into my builds, and possibly sell products to others.